When it comes to maintaining and restoring classic cars, few vehicles command as much admiration and respect as the 1964 Cadillac. Known for its luxurious design and smooth ride, a well-maintained 1964 Cadillac can stand the test of time, especially when its exhaust system is in good condition. Over time, however, even the most well-loved classics may require some upkeep, particularly when it comes to replacing the exhaust system.
In this step-by-step guide, we’ll take you through the process of replacing the exhaust system on your 1964 Cadillac, ensuring it runs like a dream. Whether you’re a seasoned car enthusiast or a first-time restorer, this article will equip you with all the information you need to replace your exhaust system effectively. We’ll also discuss how to find high-quality parts from a trusted Antique Cadillac parts dealer like Caddy Daddy.
Understanding the Importance of a Well-Functioning Exhaust System
Before diving into the replacement process, it’s essential to understand why the exhaust system is so crucial for your 1964 Cadillac’s performance and longevity. The exhaust system directs the gases created during combustion out of the engine and away from the vehicle. A properly functioning exhaust system does more than just reduce noise — it also helps regulate engine performance, maintain fuel efficiency, and reduce harmful emissions.
If your Cadillac’s exhaust system is rusted, damaged, or inefficient, it can lead to a range of issues including:
- Decreased engine performance
- Increased fuel consumption
- Excessive exhaust noise
- Harmful emissions
- Poor overall driving experience
Replacing the exhaust system ensures that your vehicle runs smoothly and remains compliant with emissions standards. If you’re a classic car collector, this is even more important, as a damaged exhaust system can significantly affect your car’s value.
Signs Your 1964 Cadillac Exhaust System Needs Replacement
How do you know if it’s time to replace your 1964 Cadillac exhaust system? Here are some signs to look out for:
- Loud Engine Noise: If your Cadillac sounds louder than usual or you notice a “roaring” noise, it’s a clear indicator that the exhaust system is damaged.
- Decreased Fuel Efficiency: A damaged exhaust system can cause the engine to work harder, reducing fuel efficiency.
- Rust or Holes in the Exhaust Pipes: Physical damage to the exhaust pipes, such as rust, holes, or cracks, is a clear sign that replacement is necessary.
- Bad Smell: If you smell exhaust fumes inside the cabin, there may be a leak in the exhaust system.
- Poor Engine Performance: If you notice a decrease in acceleration or performance, a malfunctioning exhaust system could be to blame.
Tools and Materials Needed for Replacing the 1964 Cadillac Exhaust System
Before you start the replacement process, ensure that you have all the necessary tools and materials. Here’s what you’ll need:
Tools:
- Jack and Jack Stands: To lift the car safely and allow access to the underside.
- Wrench Set: A variety of wrenches will help you remove old exhaust parts.
- Socket Set: For removing bolts and nuts.
- Exhaust Hanger Removal Tool: To remove exhaust hangers safely.
- Penetrating Oil: To loosen rusted bolts and nuts.
- Torque Wrench: To ensure bolts are properly tightened when reassembling.
- Rubber Mallet: For tapping stubborn parts free.
- Safety Glasses and Gloves: For personal protection during the process.
Materials:
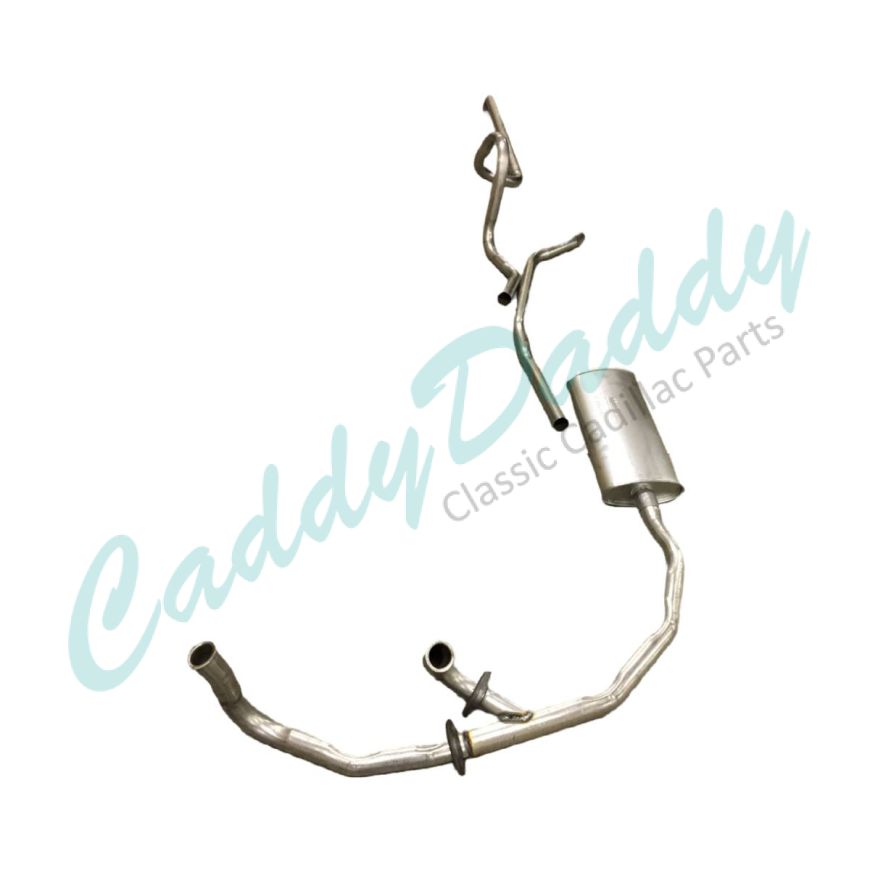
- Replacement Exhaust System: You’ll need a high-quality exhaust system tailored to your 1964 Cadillac model.
- Exhaust Hangers and Clamps: Ensure that you have the proper hangers and clamps for installation.
- Gasket Sealant: For creating a tight seal between components.
- High-Temperature Paint (Optional): If you want to protect your new exhaust system from rust and corrosion.
Step 1: Lifting the Cadillac and Securing It
The first step in replacing your 1964 Cadillac exhaust system is to safely lift the vehicle. Use a hydraulic jack to lift the car high enough to access the exhaust system underneath. Once the car is lifted, use jack stands to support the vehicle securely. Never attempt to work on a car that is only supported by a jack.
Step 2: Removing the Old Exhaust System
Now that the vehicle is safely lifted, it’s time to remove the old exhaust system. Start by locating the exhaust components underneath the car, including the exhaust manifold, catalytic converter, and muffler.
- Loosen the Bolts: Use penetrating oil on the bolts securing the exhaust parts to loosen them. It’s crucial to allow time for the oil to penetrate any rusted or stubborn bolts.
- Remove the Exhaust Hangers: Use an exhaust hanger removal tool to detach the exhaust from its hangers. Be careful not to damage the hangers or pipes in the process.
- Unbolt and Remove the Exhaust Pipes: Start by unbolting the exhaust pipe from the manifold and carefully remove the old exhaust system components.
- Inspect for Additional Issues: While the exhaust system is out, take the opportunity to inspect other parts of the system for wear or damage. Check the catalytic converter, muffler, and manifolds for any issues that may require attention.
Step 3: Preparing the New Exhaust System
Once the old system is removed, it’s time to prepare the new exhaust system for installation. If you’re working with a replacement system purchased from an Antique Cadillac parts dealer like Caddy Daddy, make sure that all the components are the correct fit for your 1964 Cadillac Exhaust.
- Align the Parts: Lay out the new exhaust system and check that all parts are correctly aligned. Ensure that you have the necessary exhaust hangers and clamps.
- Apply Gasket Sealant: Apply high-quality gasket sealant to the flanges of the exhaust system where the parts will connect. This ensures a secure, leak-free fit.
Step 4: Installing the New Exhaust System
Now comes the installation of the new exhaust system. This step involves carefully reattaching each component in the reverse order of removal.
- Attach the Exhaust Pipes: Begin by attaching the exhaust pipes to the exhaust manifold and catalytic converter. Tighten the bolts securely using your wrench set.
- Install the Muffler: Once the pipes are attached, install the muffler and ensure it is correctly aligned with the exhaust pipes. Use exhaust clamps to secure the connection.
- Secure the Hangers: Attach the exhaust hangers to hold the system in place. Make sure they are tightly secured to avoid any rattling or movement of the exhaust system.
- Check for Leaks: Once the system is in place, inspect all joints and connections for any signs of leaks. If you notice any, tighten the bolts or add additional sealant as needed.
Step 5: Lowering the Car and Testing the Exhaust System
With the new exhaust system installed, it’s time to lower the Cadillac back to the ground. Carefully remove the jack stands and use the jack to lower the car back to its original position.
Once the car is back on the ground, start the engine and listen for any unusual noises. Check for any leaks or signs of poor performance. Ensure that the exhaust system operates quietly and that the engine runs smoothly.
Finding Quality Parts from an Antique Cadillac Parts Dealer
When it comes to replacing parts in your 1964 Cadillac, quality matters. The best way to ensure that you’re getting top-notch parts for your classic car is by sourcing them from a reputable Antique Cadillac parts dealer. One such dealer is Caddy Daddy, known for its vast selection of vintage and antique Cadillac parts. Whether you need a replacement exhaust system, muffler, or any other essential component, Caddy Daddy can provide you with high-quality parts that are built to last.
Conclusion
Replacing the exhaust system in your 1964 Cadillac is an important maintenance task that can dramatically improve your vehicle’s performance, fuel efficiency, and overall driving experience. By following this step-by-step guide, you can ensure that your Cadillac is equipped with a high-quality exhaust system that functions flawlessly. Remember, sourcing the right parts is key, and an Antique Cadillac parts dealer like Caddy Daddy will provide you with all the components you need for a successful repair.
Maintaining and restoring your classic Cadillac requires attention to detail and high-quality parts, but the results are well worth it. With a newly replaced exhaust system, your 1964 Cadillac will continue to turn heads and run like the luxury vehicle it was designed to be.